这是一篇草稿,内容可能不完整或有误。
天气查询功能实现
天狼星,织女星,参宿四
木卫一,木卫二,木卫三
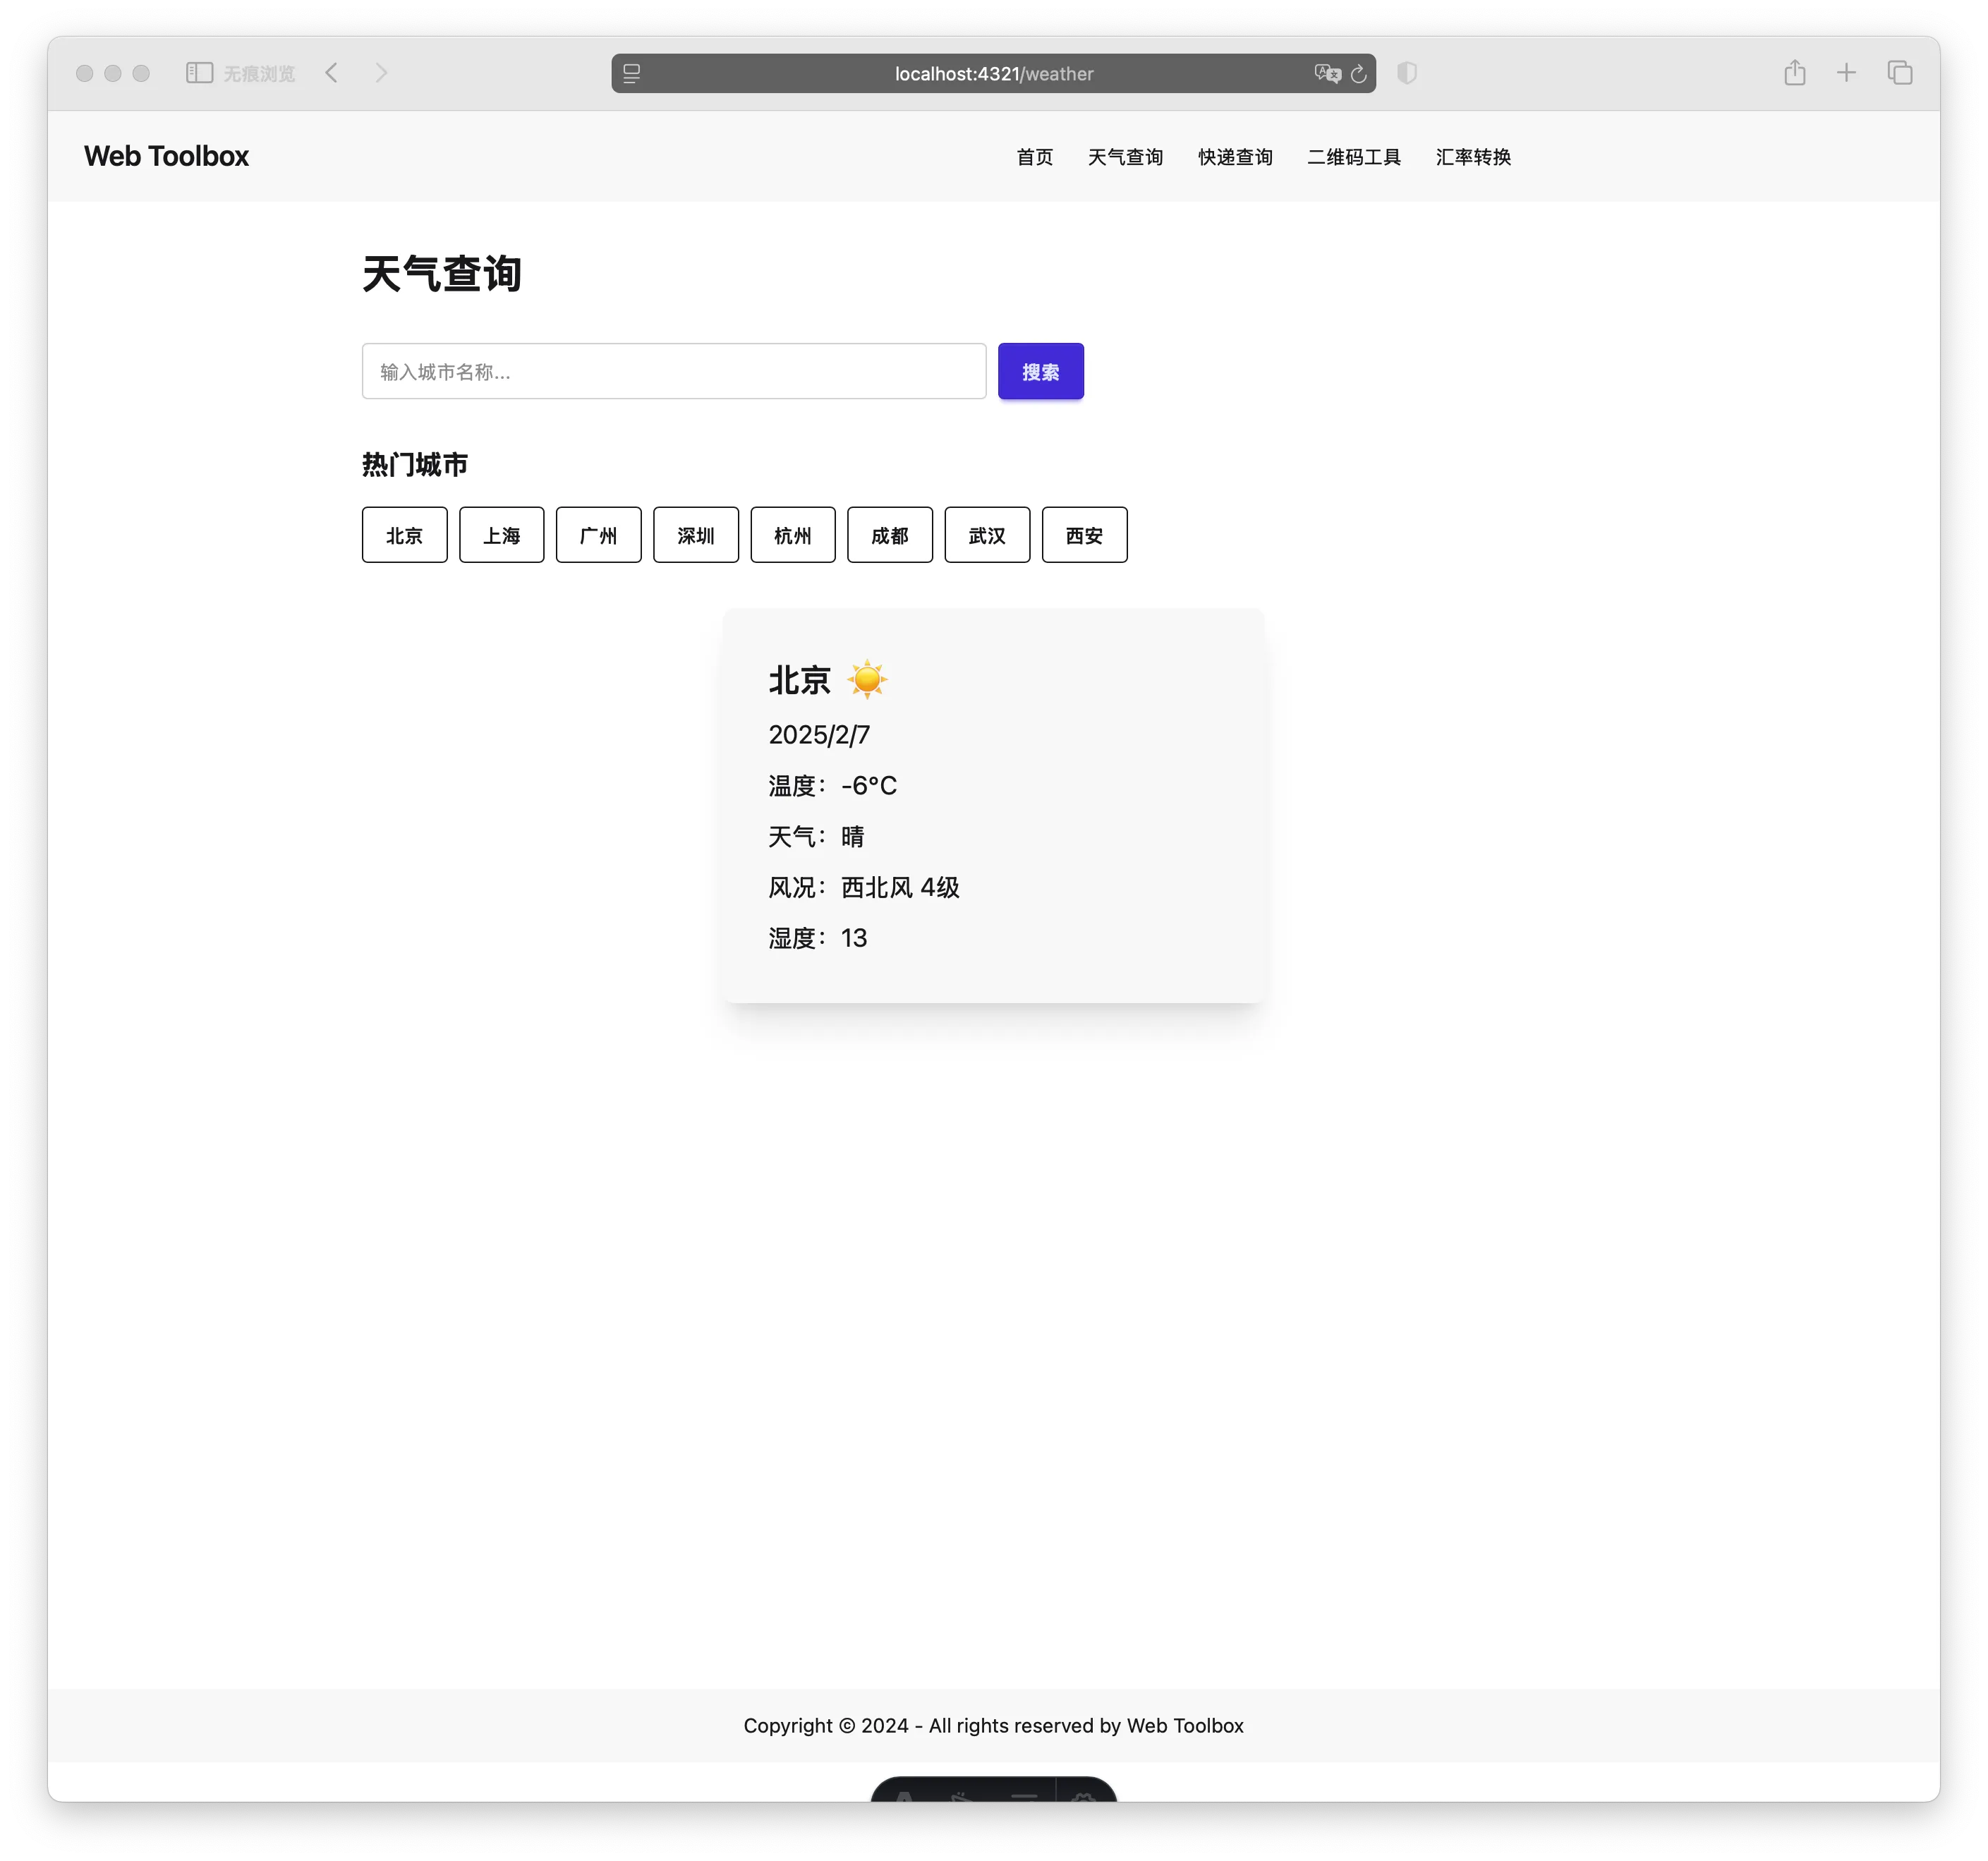
在这一节中,我们将实现一个完整的天气查询功能。主要包括以下内容:
- 设计和实现天气查询页面
- 创建天气卡片组件
- 集成聚合数据天气 API
- 实现城市搜索功能
准备工作
其中的数据来自于:聚合数据,这是国内一个非常不错的数据供应商,提供了很多免费的数据接口。

注册聚合数据账号并获取 API Key:
- 访问 聚合数据官网
- 注册账号并实名认证
- 申请天气预报 API
- 获取 API Key
创建环境变量文件:
# .env
JUHE_WEATHER_KEY=your_api_key_here
组件实现
接下来的代码可以由 AI 生成,你可以这样对 AI 说:
生成一个天气卡片组件,要求:
- 使用 TailwindCSS 和 DaisyUI 实现天气卡片组件
- 使用 Astro 实现天气卡片组件,并添加天气数据
- 代码写入 src/components/WeatherCard.astro 文件中

生成一个天气查询页面,要求:
- 使用 Vue 实现天气查询页面
- 使用 Astro 实现天气查询页面,并添加天气数据
- 代码写入 src/components/WeatherPage.astro 文件中
以下是我得到的代码,供你参考:
<!-- components/WeatherCard.vue -->
<script setup lang="ts">
import { computed } from 'vue'

// 定义组件属性 interface Props { weather: { city: string date: string temperature: string weather: string wind: string humidity: string } }

const props = defineProps<Props>()

// 根据天气状况选择图标 const weatherIcon = computed(() => { const weather = props.weather.weather if (weather.includes('晴')) return '☀️' if (weather.includes('多云')) return '⛅' if (weather.includes('阴')) return '☁️' if (weather.includes('雨')) return '🌧️' if (weather.includes('雪')) return '🌨️' return '🌤️' })

</script>

<template>
  <div class="card w-96 bg-base-200 shadow-xl">
    <div class="card-body">
      <h2 class="card-title text-2xl">
        {{ weather.city }}
        <span class="text-3xl">{{ weatherIcon }}</span>
      </h2>
      <div class="text-lg space-y-2">
        <p>{{ weather.date }}</p>
        <p>温度:{{ weather.temperature }}℃</p>
        <p>天气:{{ weather.weather }}</p>
        <p>风况:{{ weather.wind }}</p>
        <p>湿度:{{ weather.humidity }}</p>
      </div>
    </div>
  </div>
</template>
<!-- components/WeatherPage.vue -->
<script setup lang="ts">
import { ref } from 'vue'
import WeatherCard from './WeatherCard.vue'

// 热门城市 const popularCities = [ '北京', '上海', '广州', '深圳', '杭州', '成都', '武汉', '西安' ]

// 响应式状态 const searchQuery = ref('北京') const searchResults = ref([]) const selectedCity = ref('') const loading = ref(false) const error = ref('') const weatherData = ref(null)

// 搜索城市 async function searchCity() { if (!searchQuery.value) return

try { loading.value = true error.value = ''

    // 调用城市搜索 API
    const response = await fetch(`/api/weather/cities?query=${encodeURIComponent(searchQuery.value)}`)
    const data = await response.json()

    if (data.error) {
      error.value = data.error
      return
    }

    searchResults.value = data.cities

} catch (e) { error.value = '搜索失败,请稍后重试' } finally { loading.value = false } }

// 获取天气数据 async function getWeather(city: string) { console.log('getWeather', city) try { loading.value = true error.value = '' selectedCity.value = city searchQuery.value = '' searchResults.value = []

    // 调用天气查询 API
    const response = await fetch(`/api/weather?city=${city}`)
    const data = await response.json()

    if (data.error) {
      error.value = data.error
      return
    }

    weatherData.value = data

} catch (e) { error.value = '获取天气信息失败,请稍后重试' } finally { loading.value = false } }

</script>

<template>
  <div class="max-w-4xl mx-auto">
    <h1 class="text-3xl font-bold mb-8">天气查询</h1>

    <!-- 搜索框 -->
    <div class="form-control w-full max-w-lg mb-8">
      <div class="input-group flex flex-row gap-2">
        <input v-model="searchQuery" type="text" placeholder="输入城市名称..." class="input input-bordered w-full"
          @input="searchCity" />
        <button class="btn btn-primary" :disabled="loading" @click="searchCity">
          搜索
        </button>
      </div>

      <!-- 搜索结果 -->
      <ul v-if="searchResults.length > 0" class="menu bg-base-200 w-full mt-2 rounded-box">
        <li v-for="city in searchResults" :key="city">
          <a @click="getWeather(city)">{{ city }}</a>
        </li>
      </ul>

      <!-- 错误提示 -->
      <div v-if="error" class="alert alert-error mt-4">
        {{ error }}
      </div>
    </div>

    <!-- 热门城市 -->
    <div class="mb-8">
      <h2 class="text-xl font-bold mb-4">热门城市</h2>
      <div class="flex flex-wrap gap-2">
        <button v-for="city in popularCities" :key="city" class="btn btn-outline" @click="getWeather(city)">
          {{ city }}
        </button>
      </div>
    </div>

    <!-- 天气信息 -->
    <div v-if="weatherData" class="flex justify-center">
      <WeatherCard :weather="weatherData" />
    </div>

    <!-- 加载状态 -->
    <div v-if="loading" class="flex justify-center items-center h-40">
      <span class="loading loading-spinner loading-lg"></span>
    </div>

  </div>
</template>
Astro 页面集成
创建 Astro 页面来使用 WeatherCard 组件,你可以这样对 AI 说:
生成一个 Astro 页面,要求:
- 使用 Astro 实现天气查询页面,并添加天气数据
- 要使用 WeatherCard 和 WeatherPage 组件
- 代码写入 src/pages/weather/index.astro 文件中
以下是我得到的代码,供你参考:
<!-- pages/weather/index.astro -->
---
import AppLayout from '../../layouts/AppLayout.astro'
import WeatherCard from '../../components/WeatherCard.vue'

// 示例天气数据
const exampleWeather = {
  city: '北京',
  date: new Date().toLocaleDateString('zh-CN'),
  temperature: '25',
  weather: '晴',
  wind: '东北风 3级',
  humidity: '45%'
}
---

<AppLayout>
  <div class="max-w-4xl mx-auto">
    <h1 class="text-3xl font-bold mb-8">天气查询</h1>

    <!-- 使用 Vue 组件 -->
    <div class="flex justify-center">
      <WeatherCard client:load weather={exampleWeather} />
    </div>

    <div class="mt-8 text-center text-gray-600">
      <p>这是一个示例展示,完整功能请参考上方 Vue 组件的实现。</p>
    </div>
  </div>
</AppLayout>
在这个示例中:
- 使用
client:load指令确保组件在客户端加载时进行水合(hydration) - 通过 props 传递天气数据到 Vue 组件
- 使用 AppLayout 保持页面布局一致
- 添加响应式样式确保良好的展示效果
API 路由实现
在 src/pages/api 目录下创建天气相关的 API 路由,你可以这样对 AI 说:
生成一个天气查询接口,要求:
- 使用 Astro 实现天气查询接口,并添加天气数据
- 使用聚合数据天气 API 获取天气数据
- 代码写入 src/pages/api/weather/index.ts 文件中

生成一个城市搜索接口,要求:
- 使用 Astro 实现城市搜索接口,并添加城市数据
- 代码写入 src/pages/api/weather/cities.ts 文件中
以下是我得到的代码,供你参考:
// pages/api/weather/index.ts
import type { APIRoute } from 'astro';

interface WeatherResponse {
  city: string;
  date: string;
  temperature: string;
  weather: string;
  wind: string;
  humidity: string;
}

export const GET: APIRoute = async ({ request }) => {
  try {
    const url = new URL(request.url);
    const city = url.searchParams.get('city');

    if (!city) {
      return new Response(
        JSON.stringify({
          error: '请提供城市名称',
        }),
        { status: 400 }
      );
    }

    const JUHE_WEATHER_KEY = import.meta.env.JUHE_WEATHER_KEY;
    const apiUrl = `http://apis.juhe.cn/simpleWeather/query?city=${encodeURIComponent(
      city
    )}&key=${JUHE_WEATHER_KEY}`;

    const response = await fetch(apiUrl);
    const data = await response.json();

    if (data.error_code !== 0) {
      return new Response(
        JSON.stringify({
          error: data.reason || '获取天气信息失败',
        }),
        { status: 500 }
      );
    }

    const weatherInfo = data.result.realtime;
    const weatherData: WeatherResponse = {
      city,
      date: new Date().toLocaleDateString('zh-CN'),
      temperature: weatherInfo.temperature,
      weather: weatherInfo.info,
      wind: `${weatherInfo.direct} ${weatherInfo.power}`,
      humidity: weatherInfo.humidity,
    };

    return new Response(JSON.stringify(weatherData), { status: 200 });
  } catch (error) {
    return new Response(
      JSON.stringify({
        error: '服务器内部错误',
      }),
      { status: 500 }
    );
  }
};
// pages/api/weather/cities.ts
import type { APIRoute } from 'astro';

import ReferenceAnswer from '@/components/common/ReferenceAnswer.astro';

interface CitySearchResponse {
  cities: string[];
}

// 模拟城市数据库
const cityDatabase = [
  '北京',
  '上海',
  '广州',
  '深圳',
  '杭州',
  '南京',
  '成都',
  '武汉',
  '西安',
  '重庆',
  '天津',
  '苏州',
  '长沙',
  '郑州',
  '青岛',
  '大连',
  '宁波',
  '厦门',
  '福州',
  '济南',
  '合肥',
  '昆明',
  '哈尔滨',
  '沈阳',
];

export const GET: APIRoute = async ({ request }) => {
  try {
    const url = new URL(request.url);
    const query = url.searchParams.get('query');

    if (!query) {
      return new Response(
        JSON.stringify({
          cities: [],
        }),
        { status: 200 }
      );
    }

    // 简单的模糊搜索实现
    const matchedCities = cityDatabase.filter((city) =>
      city.toLowerCase().includes(query.toLowerCase())
    );

    const response: CitySearchResponse = {
      cities: matchedCities,
    };

    return new Response(JSON.stringify(response), { status: 200 });
  } catch (error) {
    return new Response(
      JSON.stringify({
        error: '服务器内部错误',
      }),
      { status: 500 }
    );
  }
};
这两个 API 端点的功能说明:
天气查询接口 (
/api/weather):- 接收城市名称作为查询参数
- 调用聚合数据天气 API 获取实时天气信息
- 返回格式化后的天气数据
城市搜索接口 (
/api/weather/cities):- 接收搜索关键词作为查询参数
- 在预设的城市数据中进行模糊搜索
- 返回匹配的城市列表